


 United States
 Best Seller
 Label Printers
 All PDAs
 All Tablets
 All Thermal Labels
 Printer Accessories
Shipping is one of the most critical yet often overlooked aspects of running an online business. Whether you're selling on eBay, Amazon, Shopify, or through your own website, knowing how to create a shipping label correctly can save you time, money, and customer headaches. This guide walks you through the process, covering major carriers and practical solutions for streamlining your shipping workflow.
Why Shipping Labels Matter More Than You Think
A properly made shipping label does more than move a package from point A to point B. It's your legal proof of postage, a tracking mechanism for your customer, and documentation for insurance claims if something goes wrong. Getting it wrong can result in lost packages, disputes, and damage to your seller reputation.
The good news? Creating a shipping label is straightforward once you understand the basics. Let's break it down.
Understanding What Goes on a Shipping Label
Before diving into the "how," let's cover the "what." Every shipping label requires specific information:
- Sender's information: Your business name, return address, phone number, and email
- Recipient's information: Customer's name, complete address, city, state, ZIP code
- Service type: Whether it's ground, priority, express, or another service level
- Weight and dimensions: Critical for calculating postage and handling
- Barcode and tracking number: Automatically generated by the carrier
- Postage amount: The cost of shipping from origin to destination
- Delivery confirmation: Signature requirements or special handling instructions
Different carriers (USPS, UPS, FedEx) have slightly different label requirements, but these core elements remain consistent.
How to Make a Shipping Label Step-by-Step
Step 1: Gather Your Shipping Information
Start by collecting everything you need before you create the label:
- Package dimensions (length, width, height in inches)
- Package weight (in pounds or ounces)
- Recipient's complete address (verified and formatted correctly)
- Your return address
- Service level preference (standard, expedited, etc.)
Pro tip: Misaddressed packages are a leading cause of delivery problems. Always double-check the recipient's address, especially apartment numbers, suite numbers, and ZIP codes.
Step 2: Choose Your Carrier

Your carrier choice depends on several factors:
USPS (United States Postal Service)
- Best for: Small packages under 70 lbs, residential addresses, cost-effective shipping
- Shipping label options: Online labels through usps.com, Click-N-Ship, or third-party integrations
- Barcode requirement: USPS barcodes must be crisp, clear, and meet minimum size standards
UPS (United Parcel Service)
- Best for: Larger packages, businesses, faster delivery options
- Shipping label options: UPS.com, UPS WorldShip, or carrier-integrated platforms
- Special requirements: UPS labels require specific formatting and barcode placement
FedEx
- Best for: Heavy packages, overnight delivery, guaranteed services
- Shipping label options: FedEx.com, FedEx Ship Manager, or third-party integrations
- Tracking: Integrated with their advanced tracking system
eBay and Amazon Integrated Labels
- Best for: Sellers using these platforms exclusively
- Advantage: Automatically pulls customer address and integrates with orders
- Limitation: Carrier-specific labels may have different requirements
Step 3: Create Your Label Online
Most carriers now require online label creation. Here's the general process:
- Log in to your carrier's website or use a third-party shipping management platform
- Enter or confirm the recipient's address
- Specify your return address
- Enter package weight and dimensions
- Select shipping service and speed
- Review the postage cost
- Purchase postage and generate the label
- Download and print the label
Step 4: Print Your Label Correctly
Label printing is more technical than it seems. Here are critical considerations:
Print Quality
- Use a high-quality printer for the sharpest barcode reproduction
- Avoid inkjet printers when possible; they can smudge and create unreadable barcodes
- Print at 100% scale—never shrink or enlarge the label
Label Placement
- USPS prefers labels in the upper-right corner of packages
- UPS labels should be placed on the largest, flattest surface
- Never place labels over tape, creases, or existing stickers
- Ensure the barcode is completely visible and unobstructed
Label Stock
- Use proper shipping label paper or adhesive label stock
- Standard 8.5" x 11" paper works for most carriers
- High-quality label material prevents peeling during transit
Learn more about What Shipping Label Size Do I Need to Buy?
Streamlining Your Shipping Label Workflow

If you're shipping multiple packages weekly, manual label creation becomes a bottleneck. This is where specialized shipping label solutions come in.
Why Consider Dedicated Shipping Label Options
For businesses handling volume, printing shipping labels with a dedicated system offers several advantages:
- Speed: Create labels in seconds instead of navigating multiple websites
- Batch processing: Generate multiple labels at once
- Integration: Connect directly with your sales platforms
- Cost tracking: Monitor postage expenses in real time
- Label quality: Thermal printers produce barcodes that scanners read reliably
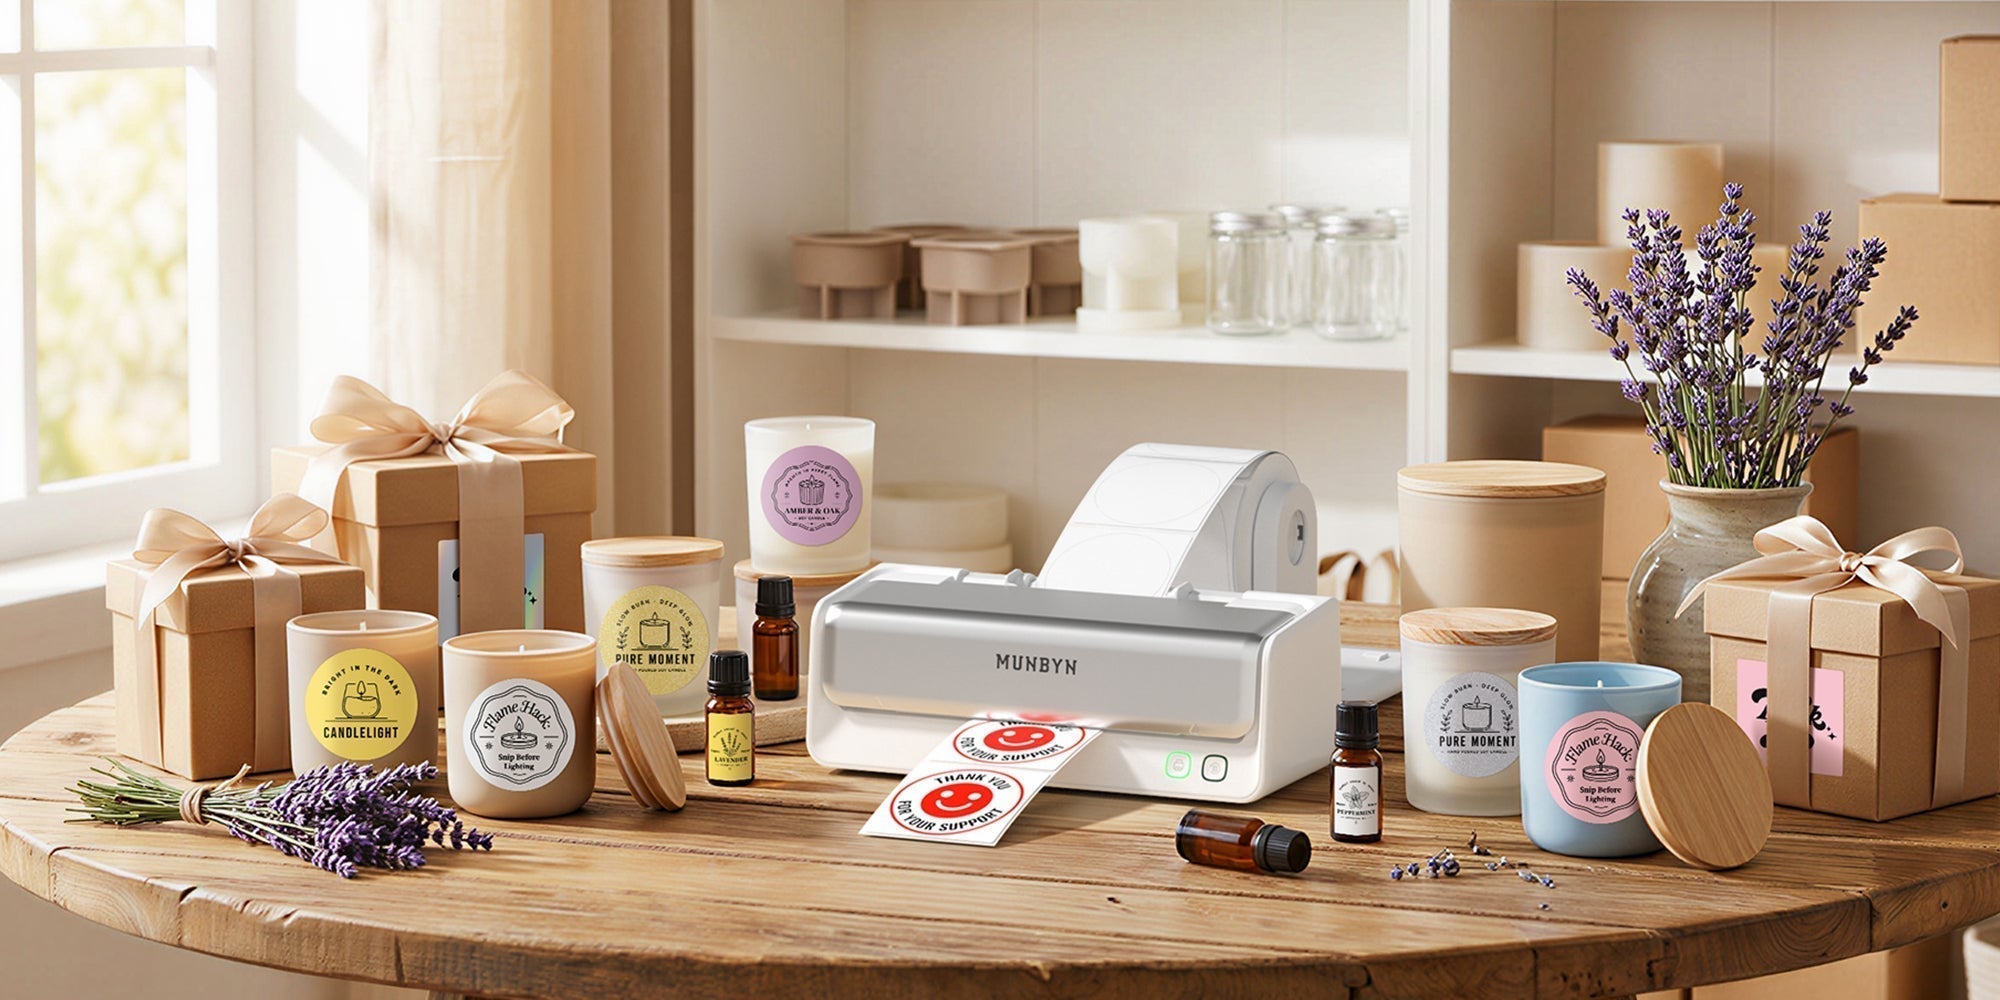
MUNBYN shipping labels represent a practical solution for businesses looking to optimize their shipping process. MUNBYN's thermal label printers and shipping label supplies eliminate the need for constant printer adjustments and alignment issues. Their 4x6 thermal shipping labels, for example, are designed to meet carrier specifications and integrate well with popular shipping platforms. The adhesive backing ensures labels stay put throughout the shipping journey, and the thermal printing technology produces crisp, scan-ready barcodes every time.
The advantage of standardized thermal label solutions is consistency. When you're printing 50 labels a week, the ability to batch-process and print without alignment adjustments adds up to real time savings. Learn more about How to Print a Perfect Shipping Label?
Carrier-Specific Tips for Creating Shipping Labels
USPS-Specific Considerations
- Priority Mail and First-Class require proper label placement
- Media Mail (book shipping) has specific restrictions—use the correct label type
- Click-N-Ship offers discounted rates compared to window purchases
- Require signature for packages over $500 to add protection
UPS-Specific Considerations
- UPS Store locations can print labels, but online labels are cheaper
- UPS's "Adult Signature Required" option costs extra but protects high-value items
- Ground Advantage is often the most economical option for residential delivery
- Dimensional weight pricing applies to large, light packages
FedEx-Specific Considerations
- FedEx Home Delivery is typically the most economical for residential addresses
- Overnight and priority services have specific weekend and holiday cutoff times
- Package weight and zone distance significantly impact costs
- FedEx requires clear visibility of tracking numbers for proof of delivery
Common Mistakes to Avoid
Even experienced shippers make errors. Here's what to watch for:
- Incomplete or incorrect addresses: Use address validation tools to catch errors before printing
- Wrong service level: Selecting the wrong shipping speed costs money or disappoints customers
- Illegible barcodes: Always verify printed barcodes scan properly before handing off packages
- Missing required information: Signature confirmation, insurance, and special handling options
- Poor label placement: Labels obscured by packaging tape won't scan properly at sorting facilities
- Exceeding weight/size restrictions: Each service has limits; oversized packages face surcharges
Integrating with Your Selling Platform
Most online sellers benefit from automation:
- eBay: Generates labels directly from orders; integrates with USPS, UPS, and FedEx
- Shopify: Third-party apps like ShipStation or Printful handle label creation
- Amazon: FBA (Fulfillment by Amazon) handles labels, but Fulfilled by Merchant requires your own
- WooCommerce: Integration plugins connect to major carriers
These integrations pull customer data automatically, reducing manual entry errors and speeding up fulfillment.
Final Thoughts: Making Shipping Label Creation Simple
Knowing how to create a shipping label is non-negotiable for online sellers. Whether you're making one label or one hundred, the fundamentals remain the same: accurate information, proper formatting, readable printing, and correct placement.
For sellers handling significant volume, upgrading to dedicated label solutions makes sense. The time saved, combined with the improved print quality and reliability, often pays for itself quickly. Systems designed specifically for shipping—like MUNBYN's thermal label solutions—remove friction from your fulfillment process and help you maintain consistent, professional standards.
Either way, prioritizing shipping label accuracy will reduce problems, improve customer satisfaction, and protect your reputation as a seller.
Share:
Why Is My Label Printer Printing Blank? A Complete Troubleshooting Guide
Why Is My Thermal Printer Not Printing? 10 Common Causes and Fixes