


 United States


 Best Seller
 All Printers
 All PDAs
 All Tablets
 All Thermal Labels
 Printer Accessories
Fall is a magical time of year, isn’t it? Crisp air, vibrant leaves, and the warm, comforting scents that remind you of home. There’s something uniquely cozy about lighting a candle with the rich fragrances of fall – think pumpkin spice, cinnamon, and apple pie. Imagine making your own fall scented candles, each one infused with your favorite autumn aromas. It’s easier than you might think and adds a personal touch to your seasonal decor.
What Is a Fall Candle?
A fall candle is more than just a source of light; it embodies the essence of autumn in every flicker of its flame. These fall scented candles are specifically crafted with scents that evoke the season's spirit, creating an ambiance of warmth and comfort. Whether you’re a fan of earthy notes like cedarwood or prefer sweeter hints like vanilla and caramel, a well-made fall candle can transform any space into a cozy nook.

So, why should you make your own fall candles at home? For one, personalization and convenience. You get to choose every element, from the scent to the container, even down to the wick. Plus, making the best fall candles for yourself can be a fun and relaxing activity. And let's not forget – they make fantastic gifts!
Things You Need to Make Fall Candles
Before diving into the candle-making process, you need to gather some essentials. Here's a handy list to ensure you're prepared:
- Wax: The foundation of any candle. Soy wax is a great option for beginners because it’s easy to work with and burns cleanly.
- Wicks: The size and type of wick will affect how your candle burns. Cotton wicks are a popular choice for soy candles.
- Fragrance Oils: This is where the magic happens. Choose oils with classic autumn scents like pumpkin spice, apple cider, or sandalwood.
- Candle Containers: Mason jars, tin cans, or glass tumblers all work well. Just make sure they can withstand heat.
- Thermometer: To monitor the temperature of your melted wax.
- Double Boiler: A setup to melt your wax safely.
- Stirring Utensils: Wooden sticks or spatulas work great for stirring your wax and fragrance.
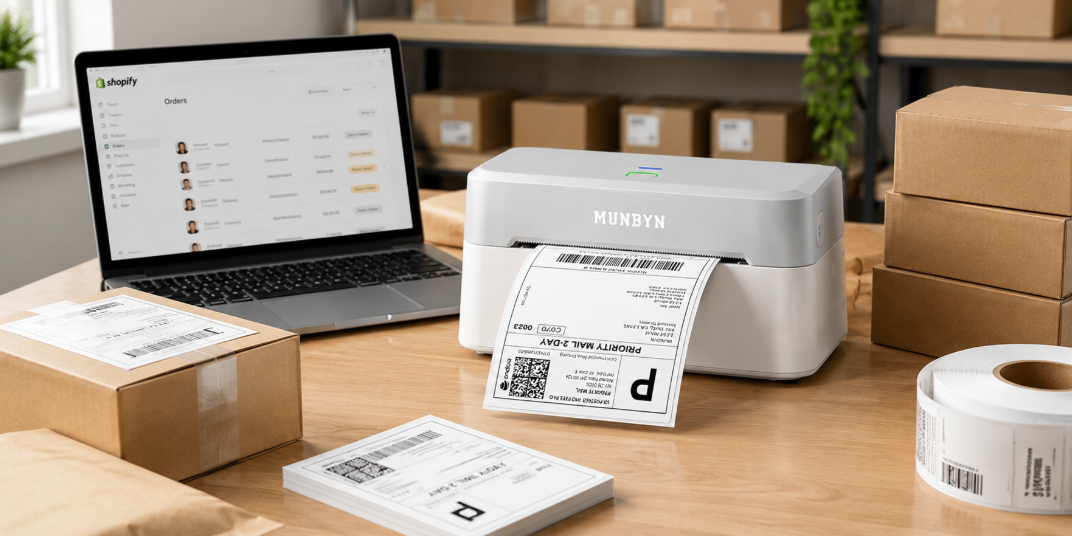
But wait, there’s more! One often overlooked yet crucial aspect of candle-making is creating candle sticker labels. These labels not only add a personalized touch but also provide important information like scent type and burning instructions. We highly recommend using thermal labels or custom stickers for this purpose.

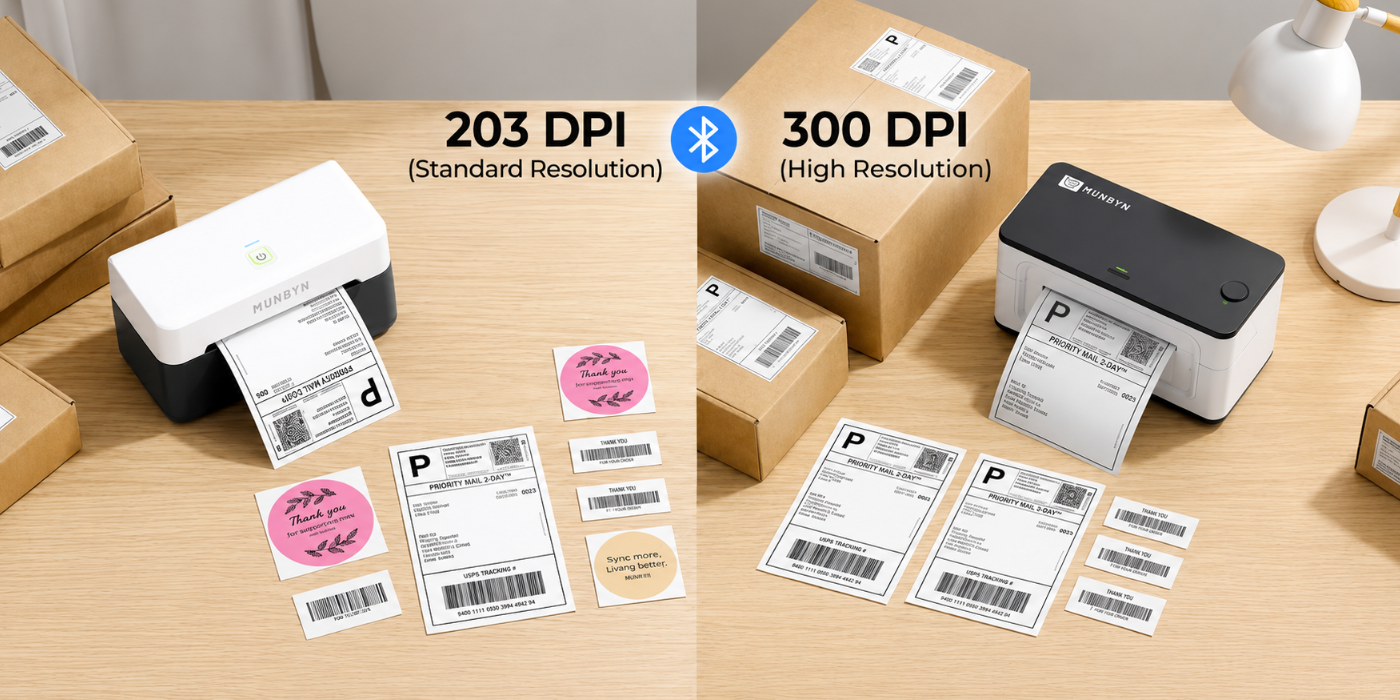
In addition, thermal printers are essential tools for printing these labels as they produce high-quality prints that won't smudge or fade. They’re easy to use and relatively affordable, making them perfect for DIY projects.
How to Make Fall Candles
Now that you have everything ready, let’s get started on making your very own fall scented candles. Follow these simple steps:
Step 1 Prepare Your Workspace - Lay out all your materials and tools. Ensure your workspace is clean, organized, and free of distractions. This will help you focus and make the candle-making process smooth and enjoyable. Having a tidy space also minimizes the risk of accidents or spills, allowing you to fully immerse yourself in the creative activity.
Step 2 Measure the Wax - Use a kitchen scale to measure the amount of wax needed. A general rule of thumb is to fill your container twice with solid wax to get the right amount once it’s melted. Proper measurement ensures that you have enough wax for your candle and helps maintain consistency in scent strength and burning performance.
Step 3 Melt the Wax - Set up your double boiler and place the measured wax in the top pot. Heat it over medium heat, stirring occasionally until entirely melted. Keep an eye on the temperature with your thermometer; different waxes have different melting points, but ideally, it should be around 170°F (77°C). Maintaining the correct temperature is crucial for ensuring a smooth and even melt.
Step 4 Add Fragrance Oil - Once your wax reaches the desired temperature, remove it from heat. Add your chosen fragrance oils. Typically, you’ll want to add about 1 ounce of fragrance per pound of wax. Stir thoroughly to ensure the scent is evenly distributed. This step is key to achieving a well-balanced aroma that fills your room without being overpowering.
Step 5 Attach the Wick - Place your wick in the center of your container. You can use a bit of melted wax to stick it to the bottom or a wick sticker if you have one. Centering the wick is essential for an even burn and preventing tunneling, where the wax burns down unevenly around the wick.
Step 6 Pour the Wax - Carefully pour the melted wax into your container, holding the wick in place. Leave a bit of room at the top. Allow the wax to set for a few hours. Pouring slowly and steadily helps prevent air bubbles and gives the wax a smooth finish. Letting it set undisturbed ensures a solid bond between the wax and container.
Step 7 Trim the Wick - Once the wax has hardened, trim the wick to about ¼ inch above the surface. This ensures a proper and safe burn, reducing the risk of excessive flickering or smoke. Keeping the wick at this length promotes a steady flame and maximizes the candle's lifespan.

Step 8 Label Your Candle - Print your custom thermal labels with your thermal printer. Stick it onto your container, and voila – your personalized fall candle is ready! Adding a label isn't just decorative; it provides essential information like scent type and burning instructions, making your candle both beautiful and functional.
*anchor-1
Bonus Tips for Making Fall Candles
Ready to make your home feel like autumn with homemade fall scented candles? Here are some extra tips to help you create the perfect autumn scents.
- Experiment with Scents: Don’t be afraid to mix different fragrance oils to create unique blends. A combination of cinnamon and clove can give you that classic cozy fall vibe. Start with small batches to test new mixes before committing to larger quantities, ensuring you find the perfect aromatic balance.
- Color Your Candles: Add a bit of dye to your melted wax for a festive touch. Orange, red, and brown can make your candles look as good as they smell. Use high-quality candle dyes for vibrant colors that won’t affect the burn quality or scent throw of your candle.
- Use Creative Containers: Think outside the box – vintage teacups, empty wine bottles, or hollowed-out pumpkins can serve as unique candle containers. Choosing interesting vessels not only adds character to your candles but also makes them wonderful conversation pieces and thoughtful gifts.
- Perfect Your Pour: Pouring too quickly can cause air bubbles. Take your time to pour the wax slowly and steadily to avoid imperfections. If you do notice bubbles or dips after the wax sets, gently reheat the top layer with a heat gun to smooth the surface.
- Test Burn: Always do a test burn with your first batch. Light the candle and let it burn for a couple of hours to see how it performs. This helps you tweak your process for next time. Testing allows you to identify any issues such as wick size or fragrance load, ensuring you produce high-quality candles every time.
Wrap Up
Creating your own best fall candles is a delightful way to capture the essence of autumn while adding a personal touch to your home decor. With a few simple ingredients and tools, you can craft candles that infuse your space with the warm, inviting scents of the season. Remember, it's not just about the end product, but also the joy of the creative process. So grab your supplies, print those lovely thermal labels, and let your imagination run wild.

Share:
How to DIY Thanksgiving Decorations: Budget-Friendly Ideas
The Ultimate Travel Packing List (Digital/Printable) & Top Tips