


 United States


 Best Seller
 Label Printers
 All PDAs
 All Tablets
 All Thermal Labels
 Printer Accessories
Imagine how smooth it is to locate your favorite spices, grains, and baking essentials with just a glance. Pantry labels just make your cooking routine so much easier. That’s why we're here to guide you through the process with clear instructions and helpful tips. By following our easy-to-follow guide, you'll be able to diy pantry labels within just 15 minutes. Let’s get to it.
Choose the right pantry label stickers
If you already have an inkjet printer, you can either print on paper labels or vinyl labels. But if you're looking for the easiest and quickest way to print labels, we highly recommend using thermal labels. Why are they so great?
When you use thermal labels, you don't need to fuss with scissors or a paper cutting machine to get that clean, smooth edge. Plus, accidents happen in the kitchen all the time – spills, splashes. But no worries, thermal labels are oil-proof and water-proof. So, even if they come into contact with oil or water, they'll stay looking fabulous.
Now, here's another handy feature: thermal labels are super easy to peel off without leaving any residue behind. So, if you decide to reuse that jar for something else down the line, you won't have any sticky residue to deal with. Just peel off the label and you're good to go.

Supplies needed
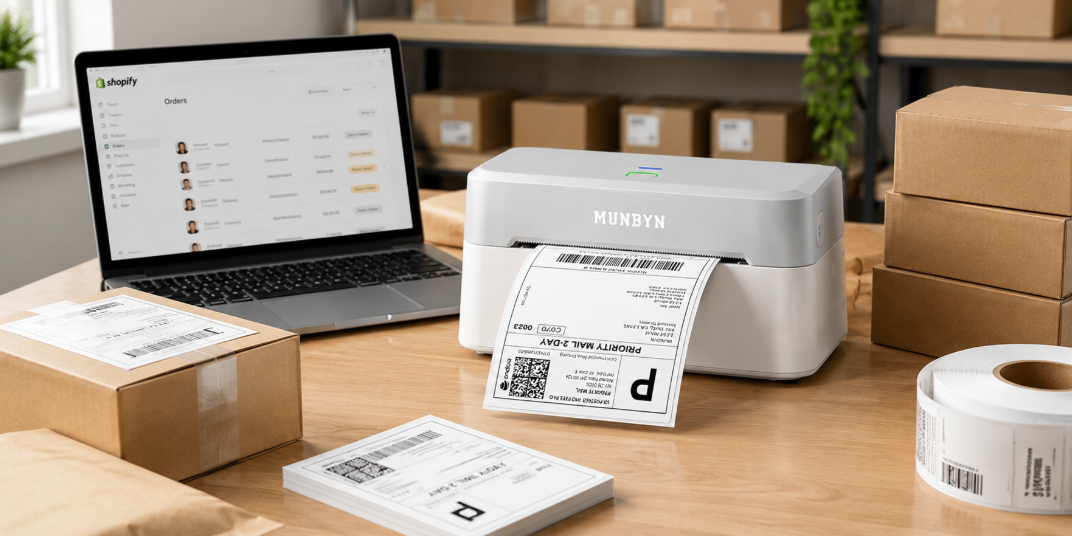
Sticker label printer
This allows you to print thermal labels without any ink or toner. It's not just for labeling jars though, if you have a small business, you can also use it to print shipping labels and product labels right at home.

Mobile device or computer
You'll need either a mobile device or a computer to design your labels. If you prefer using a computer, we highly recommend Canva. It's super easy to use and offers a wide range of templates that you can customize with your own text and images. Best of all, it's free! If you prefer using a mobile device, you can go with the Munbyn Print App. It's got a variety of templates to choose from, and with just a few clicks, you can send your label designs to the Bluetooth label printer.
Blank sticker labels
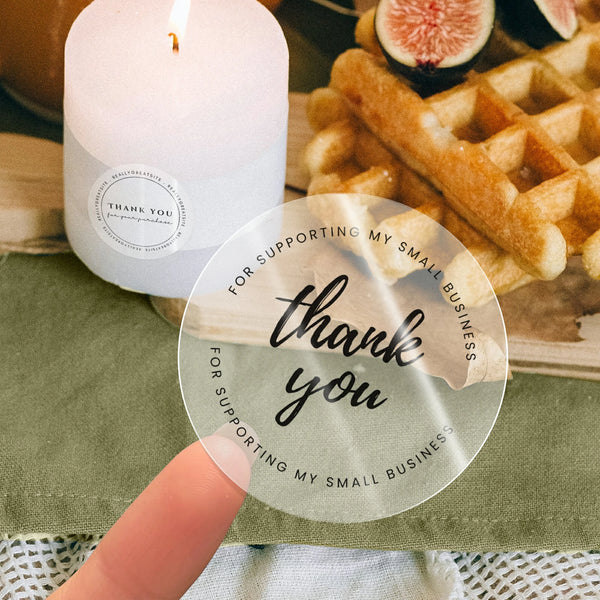
For jar labeling, opt for circle or rectangle stickers to maintain visibility of the contents while enhancing aesthetics. Brown labels suit a rustic theme, whereas clear labels match a sleek style and are ideal for glass jars. Large 4x6 labels are recommended for big jars storing bulk items like flour or pet food. Smaller 2-inch round labels fit well on containers for spices and condiments. Clear labels showcase contents for a modern look, and white labels provide contrast against transparent jars and adapt to various design themes.
Create categories
Before you start making labels, decide which categories you want to use. This will help you organize your pantry items and make labeling easier. Take a few minutes to think about the best categories for your pantry and then you can create labels that match them.
Design and print pantry labels
Step 1: Start by visiting Canva. Once there, search for "label" and choose the size you prefer. For this guide, we'll use a 2"x2" dimension, which works well for round stickers.

Step 2: Select a circle element within Canva's design tools and adjust its size to fit within a 2-inch board.

Step 3: Explore Canva's font options and choose one that you like. Type in your desired words for the label and consider adding some lines or decorative elements to enhance the aesthetic appeal.

Step 4: Once you're satisfied with your design, center everything and save it as a PNG file. Save the file on your phone or tablet for convenience.

Step 5: Next, open the Munbyn Print App on your device. Connect to your Bluetooth label printer to establish a connection.
Step 6: Import the previously saved PNG file into the Munbyn Print App. This prepares the design for printing.

Step 7: Within the Munbyn Print App, tap the settings icon located in the top-right corner. Set the label unit to inches, and adjust the label width and height to 2 inches.

Step 8: With the appropriate settings in place, your label is now ready to be printed. Follow the instructions provided by your label printer to print your design onto label sheets.

Apply pantry labels
Now, it's time to apply your pantry labels to your jars and bottles. Set aside just 15 minutes to tackle this task. Before applying labels, ensure that they are clean and dry. Take each label and carefully peel off the backing. Align it with the desired spot on your jar or bottle, and gently press it down to secure it in place. Smooth out any air bubbles or wrinkles by applying light pressure. A well-organized pantry not only looks great but also saves you time and frustration when cooking or baking. Happy labeling!
Share:
10 Halloween Marketing Ideas for Small Business 2023(Easy and Low-budget)
How to Ship Fragile Items: A Guide for Small Businesses