


 United States


 Best Seller
 All Printers
 All PDAs
 All Tablets
 All Thermal Labels
 Printer Accessories
Welcome to the ultimate guide on printing labels! Whether you are a small business owner needing shipping labels or an individual looking to create custom and creative stickers, this guide covers everything you need to know. Printing labels might seem simple, but there's more to it than meets the eye. From understanding your needs to executing the printing process and managing post-print tasks, we've got it all covered for you. By the end of this guide, you'll be well-equipped to print high-quality labels efficiently and effectively.

Get Ready for Label Printing
Before diving into the actual printing process, it's crucial to make the necessary preparations. A little planning can save you time, resources, and frustration down the line. In this section, we will explore what you need to get ready before printing your labels. By understanding your needs, preparing your printer, choosing the right materials, and designing your labels, you'll be setting yourself up for success.
Understand Your Printing Needs
The first step in preparing for label printing is to understand your specific needs. Are you a business owner who needs to print shipping labels regularly? Or are you an individual looking to create unique, creative stickers? Knowing what you need will help you choose the right tools and materials for the job. For instance, shipping labels often require durability and readability, whereas creative stickers may focus more on design and color accuracy. Clarifying your needs makes the entire process smoother and more efficient.
Prepare Your Printer
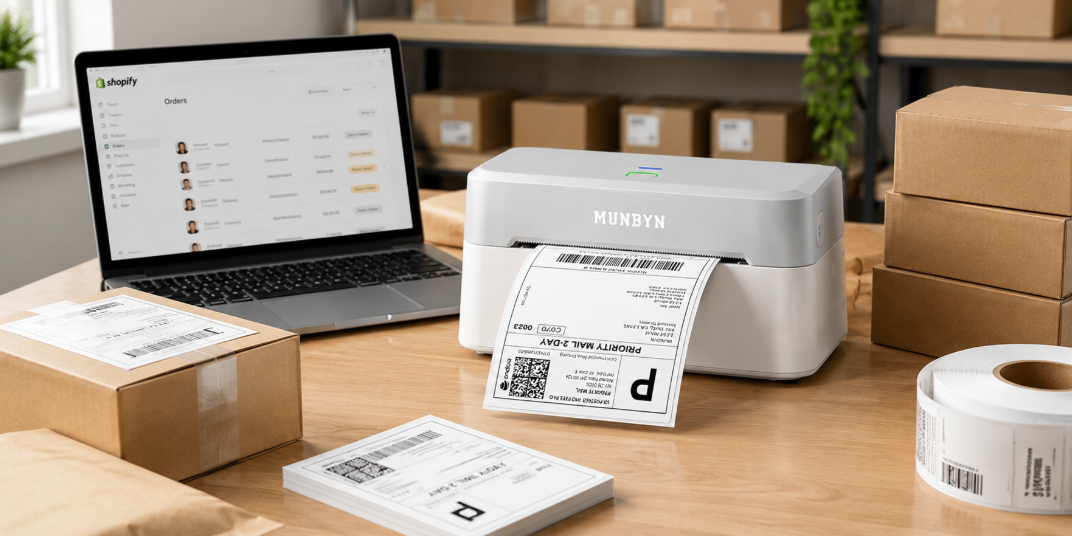
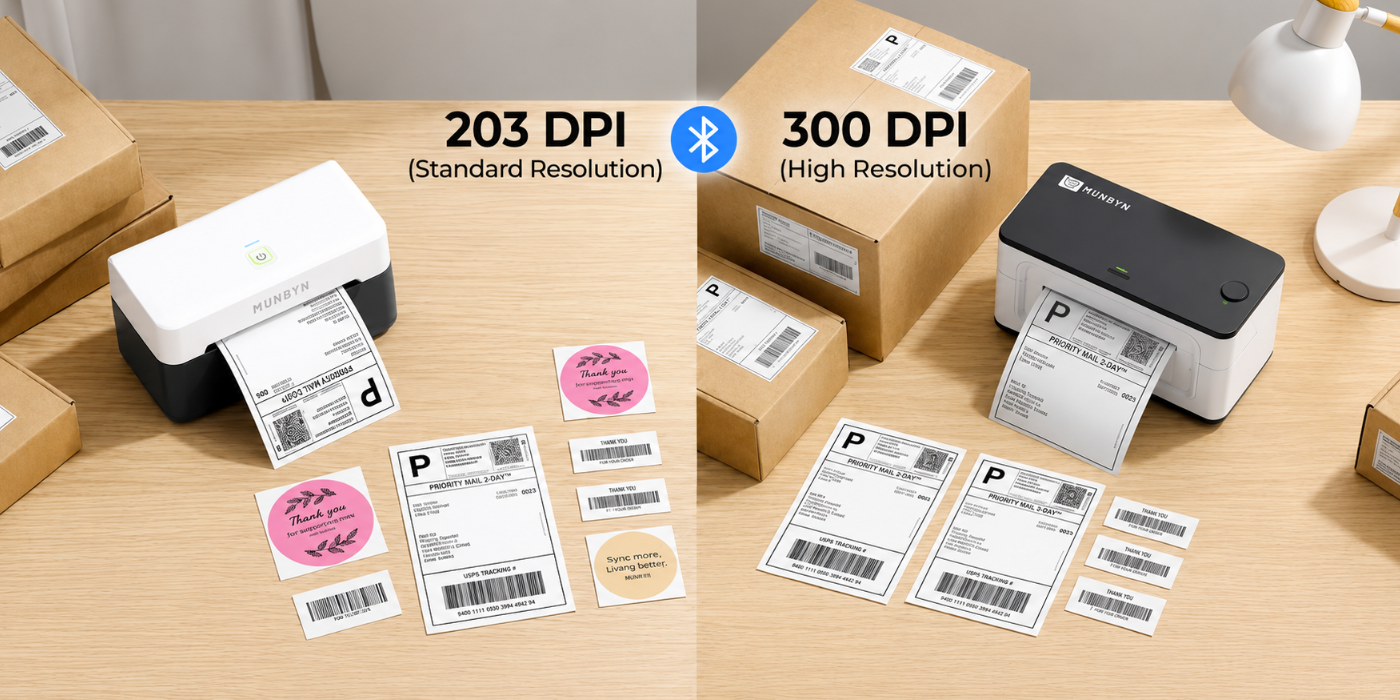
You can print labels with traditional machines like laser or inkjet printers, but we recommend using thermal label printers for better quality and efficiency. Traditional printers might require drivers and software, which can complicate the setup. On the other hand, thermal printers, such as those offered by Munbyn, are designed specifically for label printing. These printers can handle both shipping labels and creative label stickers, meeting various demands effortlessly. Munbyn's label printers are user-friendly, making them ideal for both beginners and experienced users.

Choosing Right Materials
Choosing the right materials is crucial for producing high-quality labels. Depending on your specific needs, you might need different types of printing paper and accessories. For example, shipping labels generally require waterproof and tear-resistant paper, while creative stickers might need glossy or matte finishes. Additionally, consider the adhesive properties of the label paper. Strong adhesives are essential for shipping labels to ensure they stay attached during transit. Munbyn offers a range of high-quality label papers and accessories that cater to diverse requirements.
Designing Your Labels
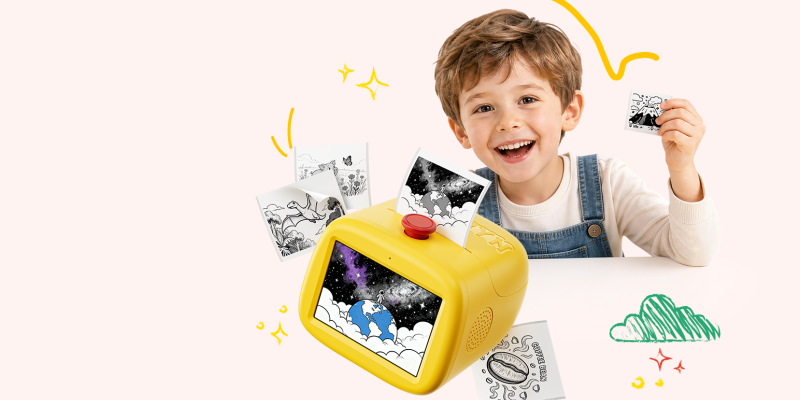
Designing your labels is where you can let your creativity shine. You can use various software programs or mobile apps to design your labels. Using a mobile app is particularly convenient as it allows you to make adjustments anytime, anywhere. Munbyn offers an easy-to-use app that streamlines the entire design and printing process. With this app, you can create stunning, professional-quality labels without any hassle. Whether you need simple text-based labels or complex graphic designs, Munbyn's app provides all the basic templates you need.

Executing the Label Printing Process
Now that you've made all the necessary preparations, it's time to execute the label printing process. This part will guide you through the steps required to set up your printer, load the labels, and print your designs. Follow these guidelines to ensure smooth and efficient label printing.
Step 1 Set up Your Printer
Setting up your printer is the first step in the printing process. For traditional printers like laser or inkjet models, you may need to install drivers and software. Consult your printer's manual for detailed instructions. On the other hand, thermal printers like those from Munbyn are much simpler to set up. Usually, they don't require any additional software, making the process quick and simple. Just connect the printer to your computer or mobile device, and you're good to go.
Here's a video tutorial for MUNBYN's thermal printer:
Step 2 Loading the Labels
Next, you need to install and load the label print paper into the printer. Make sure the paper aligns correctly with the printer's feed mechanism to avoid any jams or misprints. For thermal printers, loading the labels is usually a breeze. Open the printer cover, place the label roll inside, and thread the paper through the guides. Close the cover, and the printer should automatically detect the label size and type.
Step 3 Printing Your Labels
Now comes the exciting part—printing your labels! Start by printing a test page to ensure everything is set up correctly. This step helps you catch any alignment issues or print quality problems early on. Once satisfied with the test print, proceed to print your actual labels. If you're using Munbyn's app, simply select your design, adjust the settings if needed, and hit the print button. The app makes it incredibly easy to manage and print your labels seamlessly.
After Printing Labels
Printing the labels is just one part of the process. What you do afterward is equally important. In this section, we will explore some key actions to take after printing your labels. From inspecting and adjusting printouts to attaching the labels and dealing with residue, these steps ensure your labels serve their intended purpose effectively.
Inspect Printed Labels
Once the labels are printed, it's crucial to inspect them for quality. Check for any smudges, misalignments, or other issues that could affect their usability. This step is essential because catching errors early allows you to reprint the labels if needed, avoiding potential problems down the line. High-quality prints ensure that your labels look professional and serve their intended purpose effectively.
Adjust According to Needs
If the initial printouts aren't satisfactory or if you have new ideas, don't hesitate to adjust your designs. Sometimes minor tweaks can make a significant difference in the final product. Use your design software or Munbyn's app to make these adjustments quickly and easily. Testing small batches before committing to a large print run can also help fine-tune your designs.

Attach Printed Labels
Once you're happy with the print quality, it's time to attach your labels. Whether you're applying shipping labels to packages or creative stickers to various surfaces, proper attachment ensures they serve their purpose well. Make sure the surface is clean and dry before applying the label to ensure maximum adhesion. Press down firmly to remove air bubbles and secure the label.
Remove Label Residue
Sometimes, you might need to detach old labels or remove the sticker residue. This can be a bit tricky, but a few simple tips can make the task easier. Use a hairdryer to soften the adhesive, making it easier to peel off the label. For residue, rubbing alcohol or a mixture of vinegar and water can be effective. Apply the solution to a cloth and gently rub the area until the residue is gone.
Summing Up
Printing labels doesn't have to be complicated. By understanding your needs, preparing adequately, following a systematic printing process, and taking care of post-print tasks, you can achieve excellent results every time. MUNBYN offers a range of products and services designed to simplify each step of this journey, from designing your labels to printing and attaching them. So why wait? Take the first step toward hassle-free label printing today with Munbyn.
Share:
How to Print Assembling Paper Pattern | Easy & Fun Guide
How to Print DIY Teddy Bear Clothes Sewing Pattern at Home?