


 United States


 Best Seller
 All Printers
 All PDAs
 All Tablets
 All Thermal Labels
 Printer Accessories
Creating adorable clothes for your teddy bear can be a fun and rewarding project. Whether you're a parent, a child, or a sewing enthusiast, crafting your own teddy bear clothes allows you to personalize your stuffed friend in unique ways. In this guide, we will walk you through the steps needed to print your own DIY teddy bear clothes sewing pattern at home. By the end, you'll know how to prepare materials, print patterns, and assemble them for sewing.

Why DIY Teddy Bear Clothes Is So Popular
Teddy bears have been beloved toys for generations, and their popularity shows no signs of waning. Fabric toys like teddy bears are very popular among various groups including mothers, children, and handmade sewing enthusiasts. One reason for this popularity is the joy that comes from creating something unique and personal. Customizing teddy bear clothes is a delightful way to express creativity and add a personal touch. It's also a fantastic activity for bonding with children or enjoying some relaxing, mindful time on your own.

What Materials Do You Need to Prepare?
Before you start printing your sewing patterns, you'll need to gather some essential materials and tools. Here's what you'll need:
1. Basic Tools
- Scissors or a rotary cutter
- Fabric for the clothes
- Needle and thread or a sewing machine
- Pins and measuring tape

2. A Printable Sewing Pattern
When it comes to creating a sewing pattern, you have two main options: making your own or downloading a ready-made template online. Drawing your own pattern on practical paper can be rewarding but is often time-consuming and not very beginner-friendly. For most people, especially those new to sewing, downloading a printable template is the more practical choice.

A good printable sewing pattern should include clear instructions, properly labeled pieces, and ideally, some lines, images, or diagrams to help guide you. When preparing for this, look for templates that specify the required fabric dimensions and provide step-by-step assembly directions. Many websites offer free or paid downloadable patterns, so you're sure to find something that fits your needs.
3. Sewing Pattern Printer
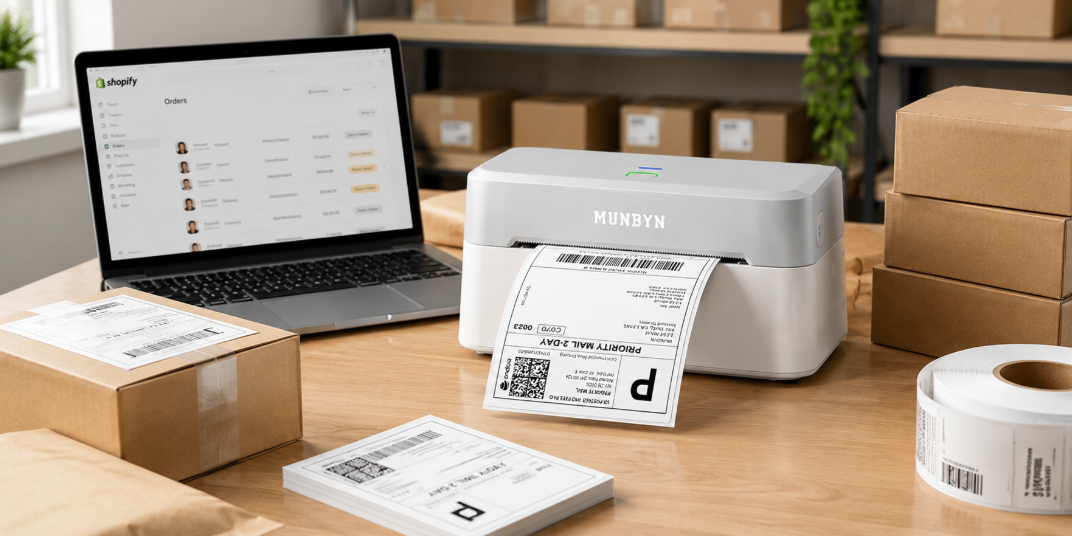
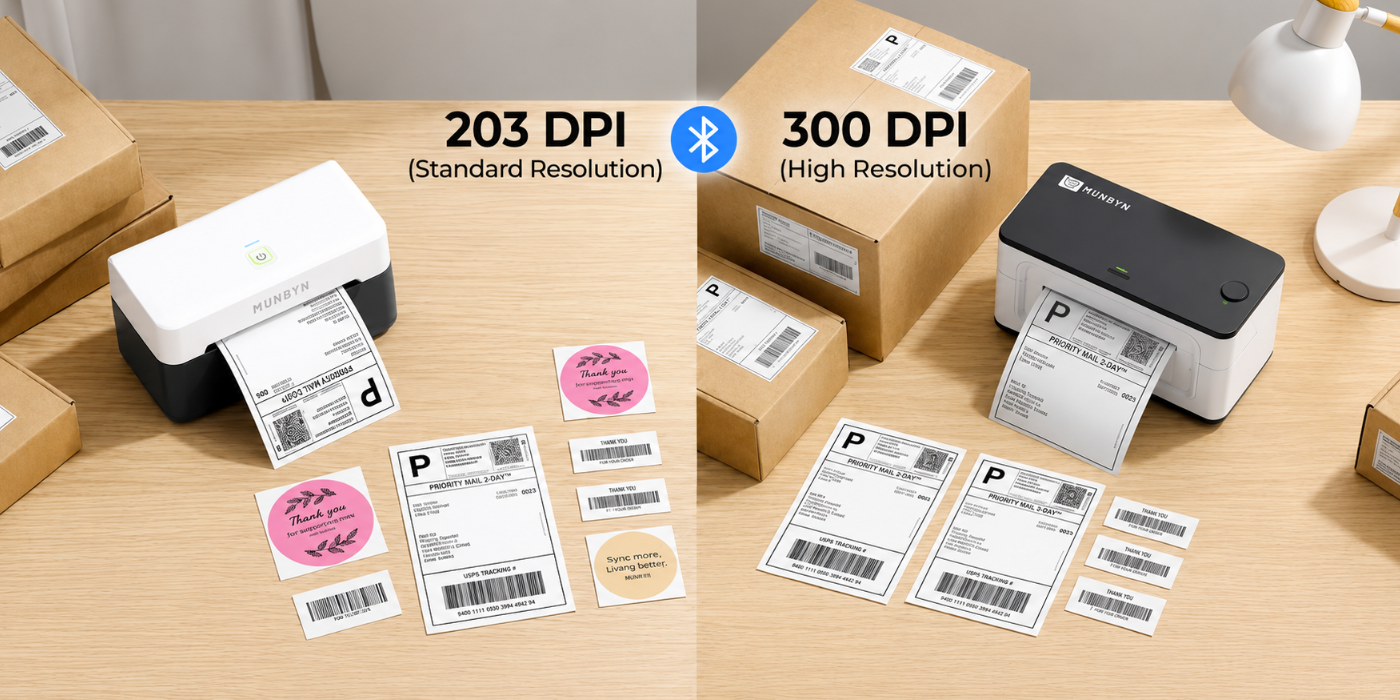
While you can use traditional printers like laser or inkjet ones, a portable A4 thermal label printer is an excellent choice for home projects. These printers are generally cheaper in the long run because they don't require ink cartridges—only thermal paper. They're easy to set up, maintain, and they produce crisp, clear prints ideal for sewing patterns.

The MUNBYN A4 thermal printer is a great example. It's compact, efficient, and designed specifically for home use. Its user-friendly features make it simple even for beginners to get started quickly. Plus, MUNBYN offers excellent customer support and resources to help you make the most of your printing experience.
4. Printable Paper
Thermal paper is an important consumable when printing at home. A4 thermal paper is specially designed for thermal printers, providing consistent quality without the need for ink. This makes it a cost-effective and convenient option for all your DIY projects, including teddy bear clothes sewing patterns.

How to Print & Assemble patterns?
Follow these steps to print and assemble your teddy bear sewing patterns using a MUNBYN A4 thermal printer:
1. Step-by-Step Printing Guide
In this part, you'll find simple instructions to print your DIY teddy bear clothes sewing patterns at home. Get ready to create charming, personalized outfits for your beloved stuffed toy!
Step 1 Download the Pattern Template
Visit a trusted website for teddy bear sewing patterns and download your chosen template.
Step 2 Set Up Your MUNBYN A4 Thermal Printer
Unbox the printer, connect it to a power source, and link it to your computer via USB. Install any necessary drivers from the CD or MUNBYN website.
Step 3 Prepare the A4 Thermal Paper
Load the A4 thermal paper into the printer, ensuring it is properly aligned.
Step 4 Open and Configure the File
- Open the downloaded PDF pattern file in a PDF viewer like Adobe Reader.
- Go to "Print", select the MUNBYN A4 thermal printer, set the paper size to A4, and adjust other settings as needed.
Step 5 Print the Pattern
Click "Print" to start printing. Monitor the process to avoid paper jams or other issues.
2. Assembling the Printed Patterns
Once you've printed your DIY teddy bear clothes sewing patterns, it's time to assemble them for use.
- Cut Out the Pattern Pieces: After printing, carefully cut out each pattern piece along the lines.
- Assemble the Pattern Pieces: Follow the template instructions to align and tape/glue multiple pages together if necessary.
- Pin to Fabric and Cut: Pin the pattern pieces to your fabric and cut them out precisely using fabric scissors.
By following these simplified steps, you can efficiently print and assemble your teddy bear sewing patterns at home with your MUNBYN A4 thermal printer. If you are still confused about using MUNBYN printer to print A4 paper, you may visit the help center page any time. Enjoy creating custom outfits for your teddy bear!
The Most Fascinating Part: Start Sewing!
Now comes the fun part—sewing! Lay out your cut fabric pieces according to the pattern instructions. Use pins to hold pieces together and either hand-sew or use a sewing machine to stitch them. Here are some warm tips:

1. Double-check seams: Ensure all seams are secure to prevent unraveling.
2. Iron your fabric: Pressing your fabric before and after sewing can give your finished clothes a professional look.
3. Take your time: Rushing through stitching can lead to mistakes.
At last, Enjoy the process!
Final Words
Making DIY teddy bear clothes at home is a wonderfully creative and satisfying project. By following this guide, you've learned about the materials needed, the advantages of using a MUNBYN A4 thermal printer, and the steps for printing and assembling your sewing patterns. Most importantly, you've embarked on a fun journey that adds a personalized touch to your beloved teddy bears.
Share:
All-Inclusive Guide to Print Labels: Never Miss It Out!
6 Efficient Tips to Create Daily Routine Checklist