


 United States


 Best Seller
 All Printers
 All PDAs
 All Tablets
 All Thermal Labels
 Printer Accessories
As the crisp autumn breeze sweeps in, it’s that time of a year to spookify your Halloween celebrations in style. No matter if you’re throwing a big Halloween party or simply wants to add a spooky touch to your house, Halloween bottle labels are going to be a must for this. This blog post is all about showing you how to create your own bottle labels with step-by-step guide.
Gather your supplies
- Label printer
- Sticker labels
- Design software
- Bottles and jars
- Sissor(optional)
- Computer or phone
Choose your label printer
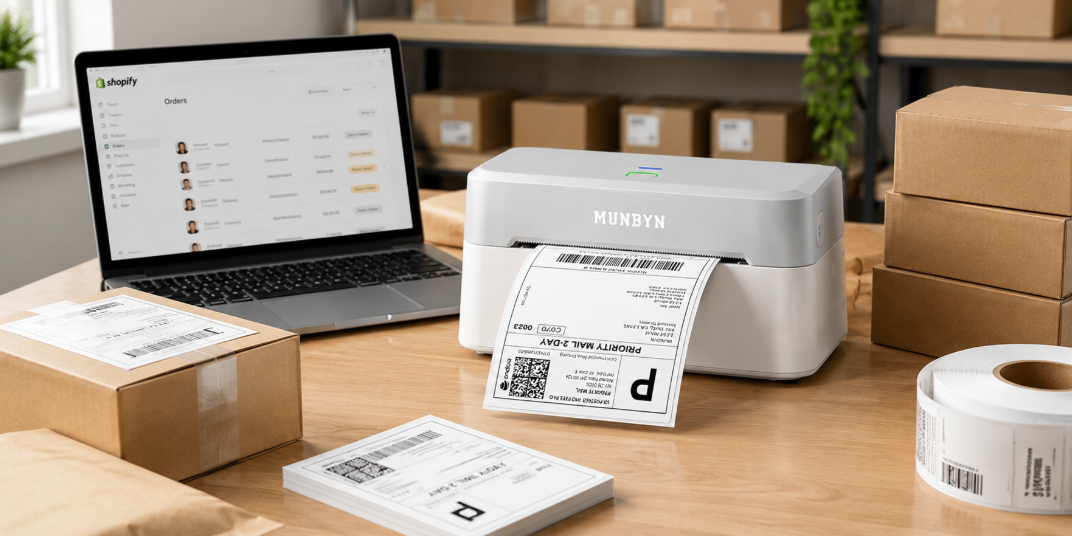
Crafting Halloween labels often involved hand-painting or printing designs on paper and cutting them out. While these approaches allow for a personal touch, they could be time-consuming and might not easy to peel off. That’s why I’ll bring in thermal label printers to your DIY Halloween project. The prints are crisp, clear and smooth. It also prints very fast (like 72 labels per minute), that means you can create more labels in less time. Not just that, you can use them to organize your pantry, create back-to-school labels, and print branding labels if you run business at home.
Reasons to use thermal labels instead of paper labels
If you're considering the Munbyn Label Printer, here's why thermal labels are way better than plain old paper labels.
Labels That Stick Around: Thermal labels are tougher than paper labels. They don't tear easily or get ruined if they meet water. That means your labels stay put and look great.
No Fuss, No Muss: Putting on paper labels can be a mess. But thermal labels are like stickers – you peel and stick them without any hassle. No more struggling with sticky stuff or wonky labels.
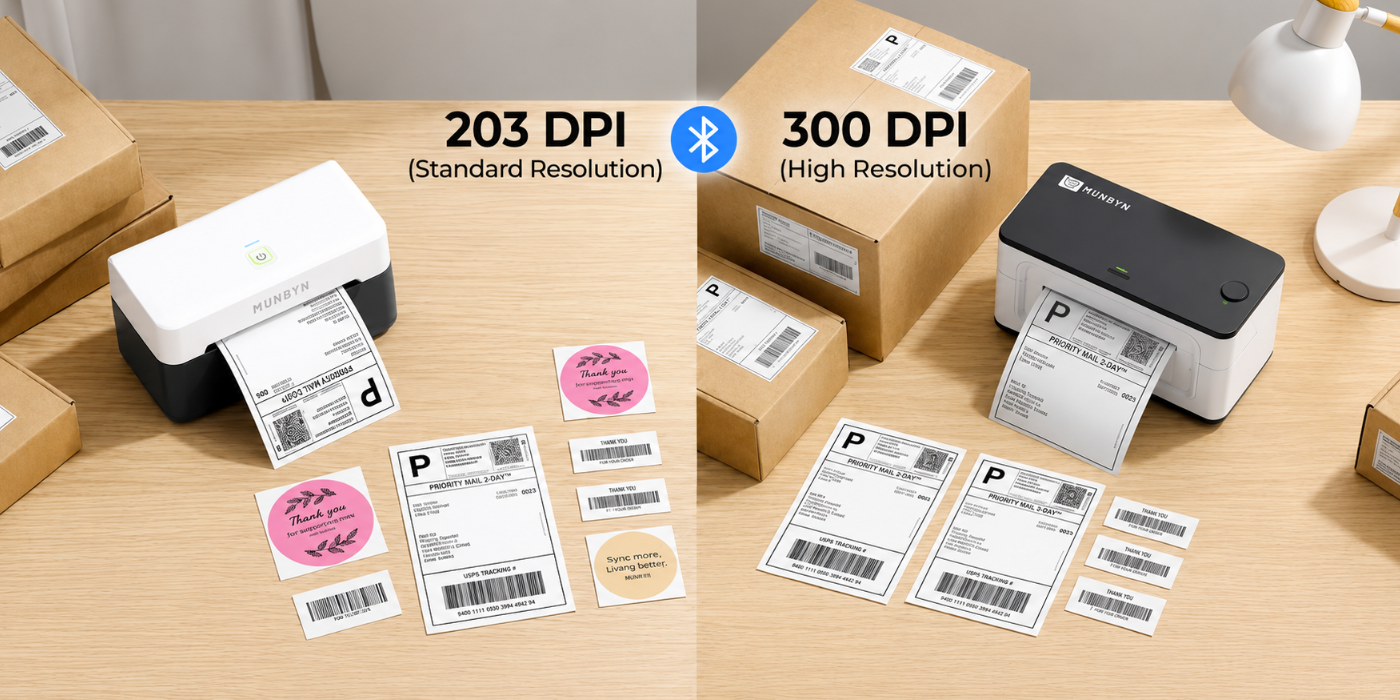
Super Clear and Fancy: Want your labels to look amazing? Thermal labels have super clear images and words. Say goodbye to labels that look fuzzy or faded. Your bottles will look totally awesome!
Save Time for Fun: Making Halloween stuff should be fun, not tiring. Thermal labels are quick. The Munbyn Label Printer does the hard work, so you just stick them on your bottles.
Make It Your Way: Thermal labels are cool because they work with lots of sizes. You can make old-timey labels or modern spooky ones – whatever you like!
Getting started with DIY Halloween bottle labels
Step 1: Collect cheap bottles
First, gather a bunch of bottles. You can find cheap ones at Goodwill or thrift stores. Or just use old wine or jam bottles you have at home. If they have labels, don't worry. We've got another post on how to remove sticker residue from different materials.

Step 2: Choose Your Label Shape and size
Think about the shape you like. Long wine bottles can go with rectangle labels. And if you’ve got smaller bottles, those might cozy up to round labels better. If you're feeling creative, try some different shapes too! For the longer wine bottles, those 4x6 thermal labels we have will work like a charm. And for smaller ones, we recommend 2.2x1.3 inches labels, or go for the 3x3inches round labels.
Step 3: Design Your Graphics
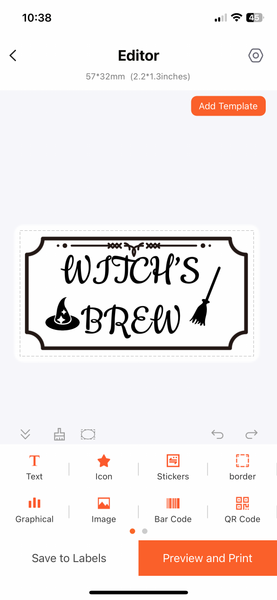
Time to get artsy! Designing doesn’t have to be professional or costly, there’re free design software online like Canva, or you can use the Munbyn Print App on your phone or ipad. It's got tons of Halloween templates. Just pick icons, borders, stickers, and type in your text.
Step 4: Print Your Labels
When you're satisfied with your design, link up your device to the Munbyn Bluetooth label printer. Then, all you have to do is tap the print button, and your awesome creation will come to life on your label!
Step 5: Add an Old Look
Want your potion labels to look all aged and rustic? Easy peasy. Dip them in tea or soak them in coffee for a bit. Then use a paper towel to wipe off the coffee marks. And hey, if you want rough edges, carefully hold the label over a candle to let the edges get a little burned.

More Spooky Halloween Ideas with Your Label Printer
The Munbyn Label Printer isn't just for making spooky bottle labels – you can create all sorts of cool Halloween stuff with it. Check out some easy ideas:
Invitation Cards:
You can make special Halloween cards to invite friends to your Halloween party. Put on creepy words and pictures to get everyone excited. It's like giving them a sneak peek into all the fun!
Candy Bag Decor:
When you go trick-or-treating, you can have your own special bags with cool labels. Stick on pictures of ghosts, witches, or pumpkins. This makes your candy bag super cool and not like anyone else's.
Gift Cards:
When you give a present to someone, you can also give a special card that you made. Put on spooky designs like bats or spiders. It shows you really thought about the person you're giving it to.
Address Labels:
Even putting addresses on envelopes can be fun. Make labels with Halloween stuff like black cats or skeletons. It makes sending cards feel like a Halloween party too.
Munbyn label printer is easy to use and helps you make awesome Halloween things. So, get creative and have a blast making your Halloween stuff extra special!Have fun creating!
Share:
How to Make Planner Stickers at Home with Munbyn Printer
How to Make Your Own Temporary Tattoos(Thermal Printer)