


 United States


 Best Seller
 All Printers
 All PDAs
 All Tablets
 All Thermal Labels
 Printer Accessories
Foundation Paper Piecing (FPP) is a popular sewinging technique known for creating precise and intricate designs. But have you ever thought about using A4 thermal printer paper for your FPP projects? It turns out, this type of paper can really up your sewinging game! Because it's thinner than regular paper, it provides clear lines and is easy to tear away.

In this guide, we'll walk you through the basics of using A4 thermal printer paper for FPP. We'll also look at different types of paper you can use and share some handy tips to make your projects even better. Whether you're an experienced tailor, just starting out, or a DIY sewing enthusiast, switching to A4 thermal printer paper can make a big difference in your finished pieces. So, let's dive in and explore how to use thermal printer paper for FPP. By the end of this guide, you'll be ready to take your sewing projects to the next level!
What Is Foundation Paper Piecing
Foundation Paper Piecing (FPP) is a common sewing technique that allows for the creation of precise and intricate designs by sewing fabric pieces onto a paper foundation. Instead of these pieces directly together, you sew them onto a paper pattern as a guide. The paper has lines and numbers to guide you, so your pieces will fit perfectly.

One of the best things about FPP is its ability to produce sharp points and complex shapes with ease, making it ideal for pattern drafting. The paper provides stability, preventing fabric from stretching or shifting during sewing. Once you finish sewing, simply tear away the paper to reveal a beautifully crafted sewing pattern!
FPP is perfect for anyone who loves making intricate patterns like stars, geometric shapes, or even pictures with fabric. Whether you're new to sewing or have been at it for years, this technique can add a whole new level of precision and creativity to your projects.
What Paper Is Used for FPP
The choice of paper can significantly impact the ease and success of your FPP projects. In this guide, we'll explore four different types of paper commonly used for FPP: regular printer paper, thermal paper, freezer paper, and specialty foundation paper. Each type has its unique characteristics and benefits, which we will delve into to help you make an informed choice.
Regular Pinter Paper
Printer paper is one of the easiest and most commonly used options for Foundation Paper Piecing (FPP). Usually, it weighs about 70-80 gsm, which makes it strong enough to go through both laser and inkjet printers.
The biggest advantage of printer paper is that it's very accessible; you probably already have some at home or can quickly buy it from any office supply store. Plus, it's quite cheap, making it a budget-friendly choice. However, it may not tear away as easily as specially designed papers, which could mess up your stitches if you're not careful. Despite this, many users find printer paper to be a simple and effective option for their FPP projects.
Thermal Printer Paper
Thermal paper is a great option for Foundation Paper Piecing (FPP). It is designed to work with thermal printers, which use heat to create prints without ink. This type of paper is generally lighter and thinner than regular printer paper, making it ideal for FPP projects. The main benefits of thermal paper include that it works well with printers without ink and provides clear images and lines, which are perfect for intricate FPP designs requiring high precision.

Many people appreciate how easy it is to handle and cut due to its thinness. Although it might be a bit pricier and less common than standard printer paper, its superior quality can make a big difference in achieving accurate and detailed pattern pieces. If precision is important to you, thermal paper could be the right choice for your FPP projects.
Freezer Paper
Freezer paper is another popular and versatile choice for FPP. It has a special coating on one side that sticks to the fabric when you press it with a hot iron. This makes it easier to position your fabric pieces accurately before sewing. After you've done the stitching, you can easily peel off the freezer paper without leaving any residue.
You can find this paper in rolls or sheets, and it's quite affordable. The fact that it helps with both the foundation and fabric placement adds extra convenience to your sewing process. Just keep in mind that freezer paper isn't suitable for direct printing unless you cut it into smaller sheets to fit your printer. Additionally, it's important to note that freezer paper requires you to draw and cut the pattern lines yourself, which means it is more suitable for those experienced sewists but quite challenging for beginners or enthusiasts.
Foundation Paper Piece Paper
Foundation paper designed for FPP has several advantages over regular paper. These papers are usually lightweight, around 70-80 gsm, and tear away easily without messing up your stitches. They often come pre-sized and work well with printers, making it easy to print complex patterns. Some brands even offer water-soluble options that dissolve in water, so you don't need to tear them off.
However, this kind of paper can be more expensive than other options and harder to find in stores. Additionally, some printers may not handle it well, which could cause issues when printing your patterns.
How to Choose the Best Paper for FPP
Choosing the right paper for Foundation Paper Piecing (FPP) can greatly impact your sewing experience and the quality of your final product. Here are four key factors to consider when selecting the best paper for your FPP projects:
Weight and Thickness: The weight and thickness of the paper are crucial for ease of use and durability. Papers that are too thick can be hard to fold and may not tear away cleanly, while papers that are too thin might tear prematurely or not provide enough stability.

Tear-Away Ease: Since FPP involves sewing through the paper, it's important to choose a type that tears away easily without damaging your stitches. Specialty FPP papers often excel in this aspect, but regular printer paper can also work if handled carefully.
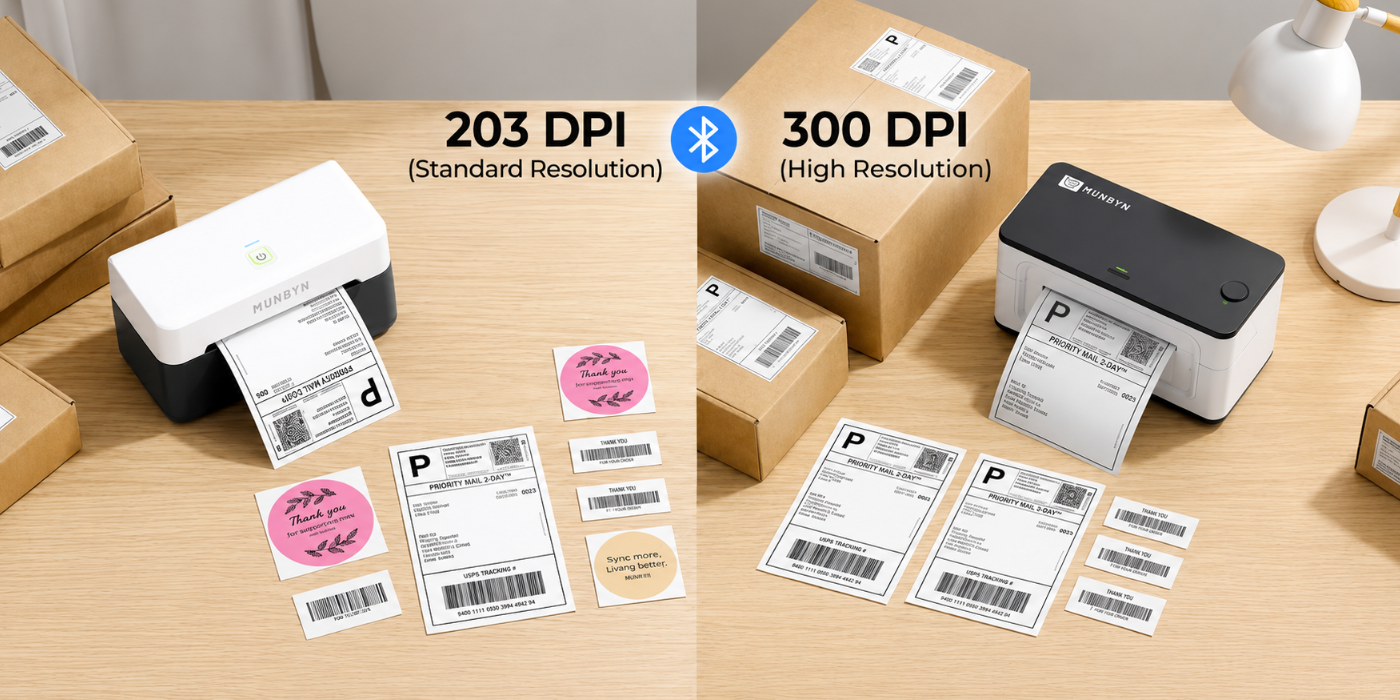
Printer Compatibility: Ensure that the paper you choose is compatible with your printer. Regular printer paper works with both inkjet and laser printers, while thermal paper requires a specific thermal inkless printer. If you plan to print intricate designs, make sure the paper provides clear, precise lines.
Cost and Availability: Budget and accessibility are also important considerations. While specialty FPP papers offer great features, they can be more expensive and harder to find. Regular printer paper is affordable and widely available but may lack some of the conveniences of specialty papers.
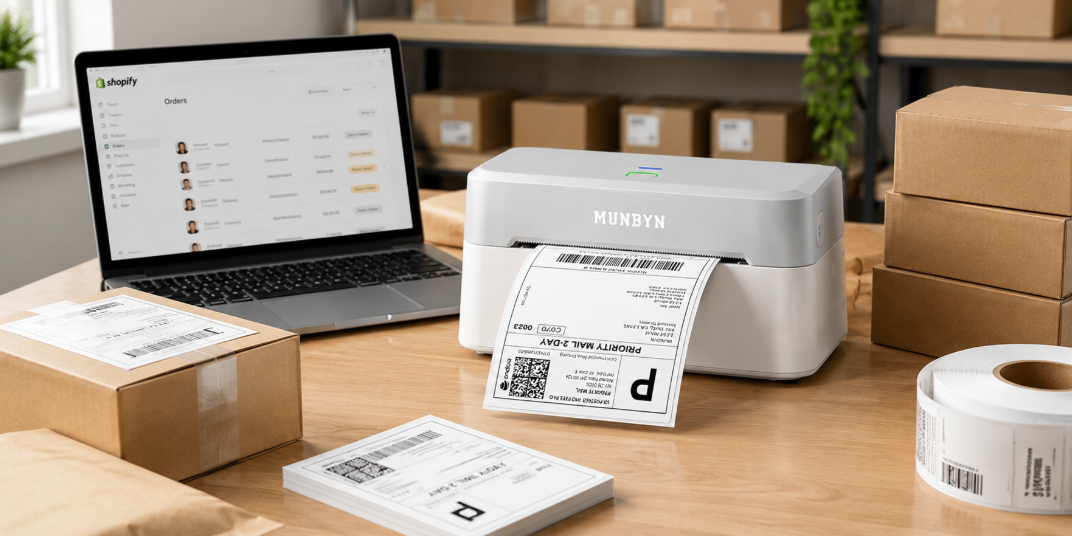
Taking all these factors into account, thermal printer paper emerges as an excellent option for FPP due to its lightweight nature and high precision. However, it requires a compatible thermal printer to function properly. This is where the MUNBYN Portable A4 Thermal Printer comes into play. The MUNBYN portable A4 thermal printer is an inkless printer specifically designed to work with A4 or letter-sized thermal paper, ensuring you get the most out of your materials.

Like other no-ink printers, it produces clear and crisp lines, perfect for intricate FPP designs, making your sewing projects more accurate and professional-looking. Moreover, this printer is lightweight and compact, making it easy to transport and store. It's a versatile addition to your crafting space, whether you're working at home or taking it to a sewing class.
How to Create FFP with Thermal Printer & Paper
Creating Foundation Paper Piecing (FPP) designs using thermal paper and a MUNBYN Portable A4 Thermal Printer is pretty simple and can enhance your sewing experience. Here's a simple guide to get you started:
Step 1: Setup the MUNBYN Thermal PrinterUnbox your MUNBYN Portable A4 Thermal Printer and follow the included instructions to install any necessary software on your computer or mobile device. Connect the printer to your device via USB or Bluetooth, depending on the model.
Step 2: Prepare Your DesignOpen your FPP pattern design in a compatible software program (e.g., Adobe Acrobat, Microsoft Word) and ensure the design is formatted correctly for A4 or letter size printing to match the thermal paper dimensions.
Step 3: Load Thermal PaperInsert the thermal paper into the MUNBYN Printer's paper tray according to the instructions and make sure the paper is aligned properly to avoid any jams or misprints.
Step 4: Print the PatternSend your design to the printer and select the print command. The MUNBYN thermal printer will produce clear, high-precision lines on the thermal paper, perfect for FPP.
Step 5: Cut and SewOnce printed, cut out the individual sections of your FPP pattern along the designated lines and follow your usual FPP process, sewing fabric pieces onto the printed thermal paper sections.
By using the MUNBYN Portable A4 Thermal Printer, you can streamline your FPP projects, ensuring precise patterns and saving time on preparation.
Additional Tips: Perfect Your Foundation Paper Piece
To help you perfect your FPP projects, we've gathered a few essential tips. These guidelines will ensure that your foundation paper piecing process is smooth, accurate, and enjoyable. Whether you are an enthusiast or an experienced tailor, these tips will help you elevate your FPP skills to the next level.
Use High-Quality Thermal Paper: Ensure the paper is durable enough to withstand multiple sewing passes without tearing prematurely.Pin or Glue Fabrics Securely: Prevent shifting by pinning or using a fabric glue stick to hold fabrics in place before sewing.
Check Alignment Regularly: As you add each fabric piece, double-check alignment with the printed pattern to maintain precision.
Reduce Stitch Length: Use a shorter stitch length on your sewing machine to make the paper easier to tear away and to enhance detail accuracy.
Practice Patience: Especially when starting out, take your time with each step to ensure accuracy and minimize mistakes.
Following these simple tips can make your foundation paper piecing projects much easier and more fun. Whether you're new to sewing or have been doing it for years, hope these tips can be helpful to you.
Wrap up
By using thermal printers and paper, you can enhance your Foundation Paper Piecing projects, achieving beautiful, precise patterns with confidence. For optimal results, consider using the MUNBYN A4 thermal printer and its high-quality thermal printer paper. It is designed for crafting enthusiasts and provides reliable, clear prints perfect for FPP. What's more, MUNBYN's compatible thermal paper ensures ease of use, crisp lines for accurate stitching, and simple tear-away properties, offering you a happier sewing experience. Feel free to visit the MUNBYN website anytime you want! Now enjoy the process and happy sewing!

Share:
Quick Steps to Print FedEx Shipping Labels [Easy Guide]
How to Print PDF Sewing Patterns at Home?