


 United States


 Best Seller
 Label Printers
 All PDAs
 All Tablets
 All Thermal Labels
 Printer Accessories
There are plenty of reasons that you might need to print round stickers in Word. Maybe you're sending thank-you notes for gifts, or maybe you just want some round stickers to use as labels for branding. Whatever the reason for printing round stickers in Word, it's important not only that they look good but also that the printer does its job well so that your sticker comes out perfectly sized and shaped every time. It's easy to do this with our guide!
What you'll need
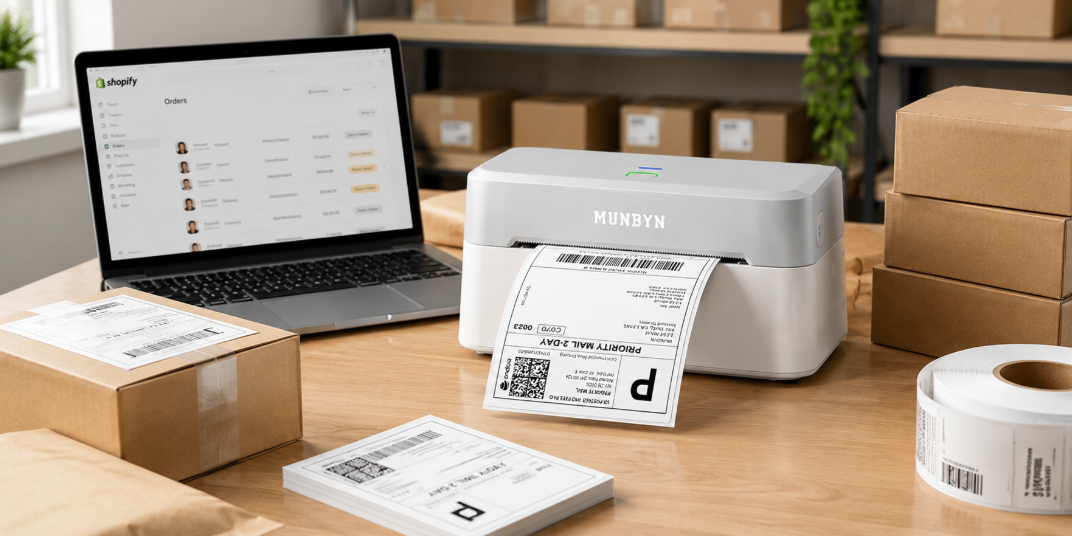
To get started, you'll need Microsoft Word and a thermal printer. You can use any size or shape of round sticker label, but we recommend using 2-inch diameter labels for best results.


Making a Circle Sticker in Word- Step-by-Step Guide
Step 1: Start by choosing your sticker shape
In a blank word document, click on the Insert Tab, select shapes, and pick the shape you’d love for your sticker. Since we want a round sticker, we will go with the circle.

Step 2: Adjust the shape outline and shape fill settings
After drawing your circle to your desired size, you now have to make a few adjustments to make it pretty. I went with the dimensions (2.5” by 2.5”) for this round sticker.

Step 3: Adjust the sticker outline
Make sure the outline of your sticker is a little thicker so that it’s well-defined when you print it out.
Proceed to the ‘Format’ tab, and under the dropdown on ‘Shape Outline,’ you will see ‘Weight.’ Here, you can make the sticker outline thicker or thinner, depending on your preference. We will go with 3pt.

Step 4: Change the color of the outline in the shape outline dropdown
You can also change the fill colors in the ‘Shape Outline’ option. You can fill your shape with any solid color of your choice. We’ll change that from solid white to black.

If you want to put a design inside your shape, choose the ‘Picture’ option from the ‘Shape Fill’ option. Choose any picture from your computer and use it as the shape’s background.

You can also play with the ‘Texture’ and ‘Gradient’ options until you get the ideal background.

Step 5: Layer your design if desired
Your design will always look better if it’s layered. This will allow you to have a fun color in the background and a clean white surface where you can add your wording.
To add this layer, you will follow the steps; go to the ‘Insert Tab> Shapes> Size.

Adjust the outline width and fill colors just as you did with the first layer. For the fill color, I will go with white.

Step 6: Add your text
Go to the insert tab and select Text Box, then choose the ‘Draw Text Box’ option at the bottom of the dropdown menu.

Draw your text box above your existing shape. And since you down want the text to block the beautiful label design, make sure you make it transparent.
Select the ‘Text Box.’ Click on the ‘Shape Fill’ tab and choose ‘No Fill’ for the shape outline.

Once the text box is transparent, you are ready to type. Add your text and change the font, size, and alignment as desired. Play around with the colors as well. I will use font ‘JUICE ICT’ for this sticker in size 28 in black since we will be printing it on a thermal label printer.

Step 7: Group your label
Now the last step is to group your label. That will allow you to move it around the page as one unit rather than one piece at a time.
To access the group feature, hold the ‘CTRL’ key and click on every element of your label so that everything is selected.
Right-click on the selection, and under the ‘Grouping’ tab, choose ‘Group.’ Your label is now one unit; you can move it around and copy and paste it.

You can print it out with your thermal label printer when everything looks good!
There you have it! A quick and easy way to print round stickers in Word. We hope this article has helped you learn something new and that next time you need to create a circle label or sticker, this will be your first choice.
Share:
How to Print Sticker Rolls
Celebrate National Sticker Day With Sticker Creating