


 United States


 Best Seller
 Label Printers
 All PDAs
 All Tablets
 All Thermal Labels
 Printer Accessories
Tattoo transfer paper has become a popular tool for both professional tattoo artists and DIY enthusiasts. Whether you're looking to perfectly replicate intricate designs on your skin or create stunning artwork on various surfaces, this handy material can help you achieve impressive results.
What is tattoo transfer paper?
Tattoo transfer paper is a special type of thermal paper used to transfer a stencil of your design onto the skin before tattooing. It acts as a guide for tattoo artists, ensuring that the final result is accurate and meets client expectations. The paper typically consists of multiple layers: a top white layer where the design is drawn, a middle thin protective layer which is removed before usage, and a bottom layer impregnated with the ink or carbon substance.

This type of paper isn't just for tattoos; it's also widely used in various craft projects. Artists often employ it to effortlessly transfer detailed images onto different materials such as wood, fabric, and even ceramics. Using tattoo transfer paper can save a lot of time and ensures the precision of your artistic designs.
Types of Tattoo Transfer paper
When it comes to tattoo transfer paper, there are two main types you can choose from: thermographic transfer paper and hectograph or manual transfer paper. Each has its own unique features and applications.
Thermographic Transfer Paper
Thermographic transfer paper is commonly referred to as thermal transfer paper. This type uses heat to transfer the design from the paper to the skin. It consists of four layers: a top white layer where you draw or print the design, a second protective layer, a third carbon layer, and a fourth yellow backing sheet.
To use this type, you’ll need a tattoo stencil printer that applies heat to transfer the design onto the top layer. It's highly recommended for those who want precise and clean transfers, making it a favorite among professional tattoo artists.

Hectograph or Manual Transfer Paper
Hectograph or manual transfer paper is an older method but is still favored by some artists for its simplicity and cost-effectiveness. It generally has three layers: the top white layer where the design is drawn, the second carbon layer, and the bottom sheet that holds everything together.
You can use this paper without any special equipment. Simply draw your design on the top layer using a pen or stylus, and the image will be transferred onto the carbon layer. It’s ideal for hand-drawn designs and smaller projects.
Applications of tattoo transfer paper
Tattoo transfer paper isn't just for tattoo stencils. You can use it for many other things, especially in arts and crafts. It's a versatile tool that can help you bring your creative ideas to life with ease. One primary use is in the creation of tattoos. Artists can design intricate patterns on paper before transferring them onto the skin as a stencil guide, ensuring precision in their work.

Another important use of tattoo transfer paper is in making crafts. You can transfer detailed designs onto various surfaces such as wood, fabric, or ceramics. This capability opens up endless possibilities for customized projects.
Whether you're looking to create personalized gifts, unique home decor items, or custom clothing, tattoo transfer paper simplifies the process. It allows you to achieve professional-looking results quickly and easily, enhancing the overall quality and appeal of your handmade creations. By using tattoo transfer paper, you can elevate your artistic endeavors and bring even the most complex designs to life.
Things to prepare
Depending on your chosen method for creating tattoos with tattoo transfer paper, the items you'll need can vary. Let’s look at the essentials for both hand-drawing the design and printing it out.
If you prefer to hand-draw the tattoo design, you should prepare:
- Tattoo transfer paper
- Pen or stylus
- A smooth, clean surface to work on
If you prefer to print out the tattoo design, here are the essentials:
- Digital device (Phone, Tablet, PC)
- Design software or app
- Tattoo transfer paper
- Tattoo stencil printer
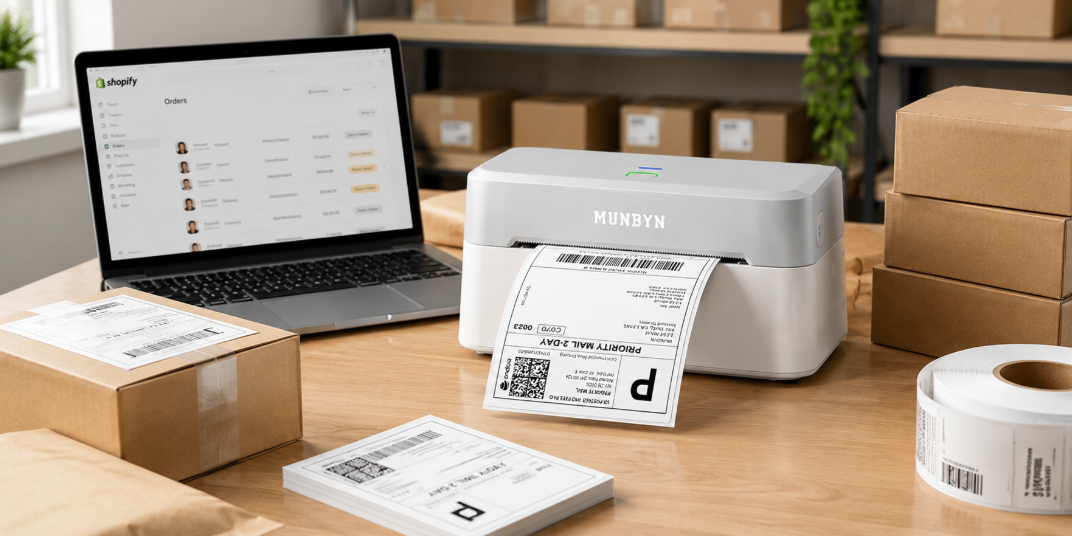
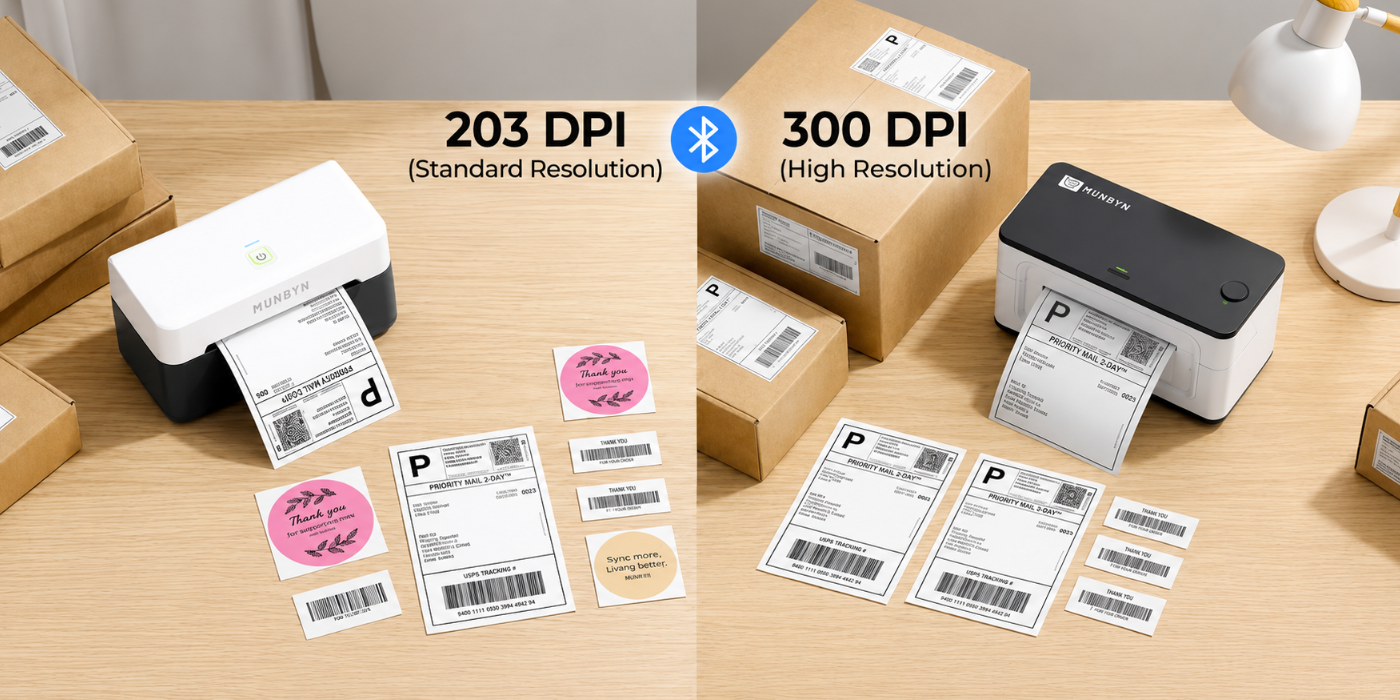
A tattoo stencil printer is essential for transferring high-quality, detailed designs onto tattoo transfer paper. One reliable supplier is MUNBYN, which offers a range of trustworthy tattoo stencil printers. Besides these specialized printers, MUNBYN also provides thermal printers, shipping labels, and creative sticker labels, making them a one-stop shop for all your printing needs.
Here’s the best part: Use the limited-time code MY06 when you purchase MUNBYN products now and get an extra 6% off your order!

Making Tattoos with tattoo transfer paper
Creating tattoos with tattoo transfer paper involves a series of straightforward steps. While there are two general methods—hand drawing and direct printing—the latter is more commonly recommended for its accuracy and efficiency. Here’s a step-by-step guide on how to create tattoos using a tattoo stencil printer:
Note: The tattoo transfer paper has to be used with the specific tattoo stencil printer, it cannot be used with the regular inkjet printer or thermal printers.
Step 1 Design tattoo on devices - Start by designing your tattoo on a digital device using design software or an app. Make sure the design is clear and matches your vision.
Step 2 Set the tattoo stencil printer and print the design - Once your design is ready, load your tattoo stencil printer with the tattoo transfer paper. Follow the printer's instructions to ensure the design is printed correctly onto the paper.
Step 3 Put the transfer paper on the body parts - Carefully place the tattoo transfer paper with the printed design onto the desired body part. Make sure it adheres well to the skin.
Step 4 Wet down the tattoo design paper - Dampen the back of the tattoo transfer paper with a sponge or cloth. Ensure it's wet enough to transfer the design but not overly soaked.
Step 5 Press the tattoo transfer paper - Press down firmly on the transfer paper to ensure the design is fully transferred onto the skin. Hold for several seconds before gently lifting the paper off.
Step 6 Check the results - Inspect the transferred design carefully. Make any necessary adjustments to ensure it looks perfect before beginning the actual tattooing process.
Transferring Images onto Crafts
Tattoo transfer paper isn't just for skin—it can also be used for transferring beautiful designs onto various craft surfaces. Here’s how you can do it:
Step 1 Print out the tattoo design - Create and print your design on tattoo transfer paper using a tattoo stencil printer. Ensure that the design is mirrored if necessary, so it appears correctly when transferred.

Step 2 Clean the surfaces of your crafts - Make sure the surface of your craft item is clean and dry to ensure the transfer adheres properly. Use mild soap and water to clean surfaces like wood or ceramic, and let them dry completely before proceeding. For fabrics, make sure they are free of lint and pre-washed to remove any sizing agents.
Step 3 Transfer the images onto crafts - Place the tattoo transfer paper onto the craft surface, ensuring it sticks well. Apply even pressure with your hands or a flat object like a squeegee to ensure full contact between the paper and the surface.
Step 4 Crave according to the image - Carve, paint, or burn along the lines of the transferred image to complete your art piece. For fabric projects, consider using fabric markers or paint to trace the transferred design. When working with wood or ceramics, use appropriate tools like carving knives or specialized paints.

Pro Tips for Using Tattoo Transfer Paper
To get the best results from your tattoo transfer paper, consider these professional tips:
- Make Sure the Design is Clear - Ensure your design is sharp and well-defined before transferring it. High-resolution images work best, and fine details can be achieved more easily with clear, bold lines.

- Test on a Small Area First - Always do a test transfer on a small area to see how the paper reacts with the material. This step helps you understand the transfer process better and ensures no unexpected reactions spoil your project.
- Keep the Paper Moist (for Skin Use) - When applying to skin, make sure the tattoo transfer paper remains adequately moist to allow for a full transfer. However, since we're focusing on crafts, this may not always apply.
- Align Carefully - Take your time to align the paper precisely where you want the design to appear. Measure and mark the desired position lightly with a pencil if needed to guide your placement.
- Use High-Quality Paper - Opt for high-quality tattoo transfer paper for the best results. Cheaper alternatives might not provide the same level of detail and adherence, leading to subpar final results.
- Remove Air Bubbles - Smooth out any air bubbles under the transfer paper for an even application. Use a squeegee or a credit card to gently press out any trapped air, starting from the center and moving outward.
Conclusion
Tattoo transfer paper is a versatile and indispensable tool whether you’re creating tattoos or working on arts and crafts. By understanding the types of transfer papers and the steps involved, you can easily master the process and achieve professional-quality results.

Share:
Beginner’s Guide: How to Start a Home Bakery Business
An Ultimate Guide to Plan a Successful Pop Up Bakery