How to Print Assembling Paper Pattern | Easy & Fun Guide

Welcome to our easy and fun guide on printing assembling paper patterns! If you've ever been fascinated by the intricacies of paper folding, crafts, or origami, then you're in for a treat. Printing sewing patterns or other types of assembling paper patterns can open the door to endless creative possibilities. Whether you're a crafting newbie or an experienced artist looking to diversify your skills, this blog will walk you through everything you need to know to get started.

What Is Assembling Paper Pattern?
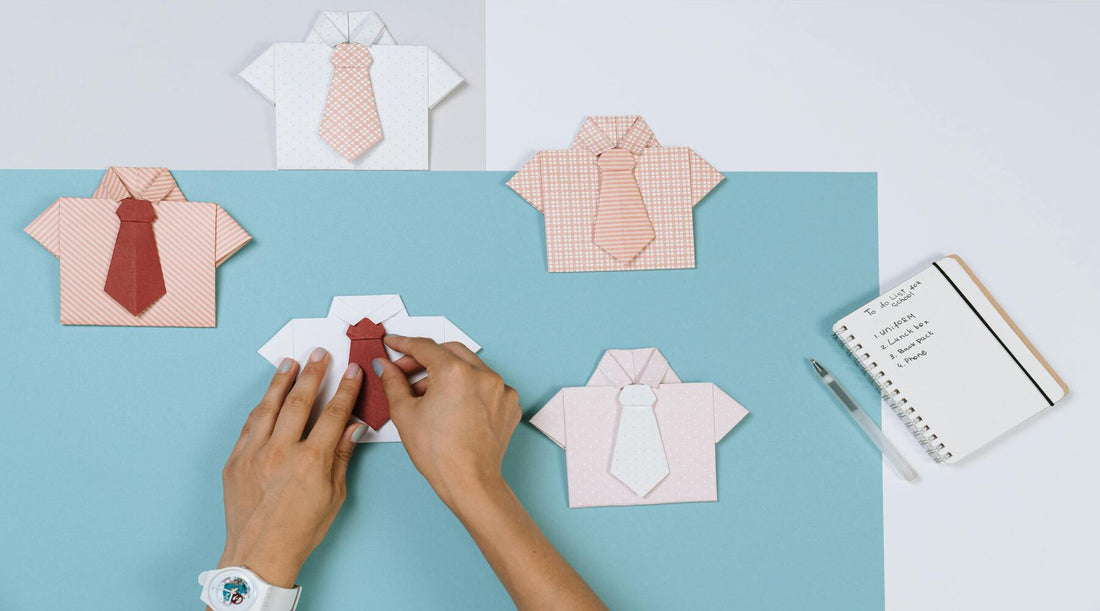
Assembling paper patterns are templates designed to be printed, cut out, and assembled into various shapes and models. Think of them as blueprints for interesting DIY crafts or creating 3D objects from flat sheets of paper. They often come with detailed guides that show you how to fold and piece together different parts to create complex designs.

These patterns are incredibly versatile and can be used for a wide range of projects, from simple origami figures to intricate architectural models. The process is similar to that of traditional paper crafts but with the added precision and detail that printed templates provide. This makes it easier to achieve professional-looking results, even if you're just getting started.
How Assembling Paper Patterns Differ From Cricut?
Despite the similarities between assembling paper patterns and Cricut, their differences are quite significant.
Assembling paper patterns offers several benefits, including low cost, high creativity, and environmental friendliness. It helps develop manual skills and craftsmanship, making it ideal for those who enjoy hands-on activities. This activity enhances children's motor skills and adds an element of fun.
On the other hand, while Cricut is efficient and precise, it requires a significant initial investment. Users need to learn how to operate the software and equipment. Moreover, the machine contains blades to ensure accurate cutting, posing a certain safety risk that requires careful handling. The choice ultimately depends on your specific needs and preferences."
What Paper Is Used for Assembling Paper Patterns?
Choosing the right paper for your assembling paper pattern is crucial. Different types of paper have varying features, thicknesses, sizes, textures, bending resistance, and applications. Here we'll introduce four popular kinds:
- Kami
- Kraft Paper
- Fabriano Ingres
- Printer Paper
1. Kami
The word originates from Japanese "Kami", which means paper in Japan's culture. It is a traditional Japanese paper commonly used in origami and other paper crafts due to its lightweight and ease of use. One of its main advantages is that it's relatively inexpensive and widely available. However, due to its thinness, it may not be suitable for more complex or larger structures that require sturdier material.

- Thickness:
Kami is typically very thin, usually around 60-70 gsm (grams per square meter). This makes it excellent for fine, detailed work but less ideal for heavy-duty projects.
- Size:
Standard sizes for Kami sheets are usually 15x15 cm, but they can also come in smaller or larger dimensions, making it versatile for different project types.
-
Applications:
Kami is ideal for simple designs like cranes, flowers, or basic geometric shapes. Its lightweight nature makes it perfect for projects where fine details matter.
Kraft Paper
Kraft paper originated in the United States and is made from wood pulp. Known for its strength and durability, it's often used for packaging and craft projects. The quality of being tear-resistant makes it a favorite for more demanding assembling paper patterns. However, its coarser texture might not be suitable for highly detailed or delicate designs.

- Thickness:
Kraft paper is thicker compared to Kami, generally ranging between 45-80 gsm. This thickness provides more structural integrity for complex projects.
- Size:
You can find Kraft paper in various sizes, commonly in rolls or large sheets, which can be cut down to your desired dimensions.
- Applications:
It can be used for more complicated structures like boxes, architectural models, or any project that requires a strong and stable form.
Fabriano Ingres
Originating from Italy, Fabriano Ingres paper is famous for its luxurious feel and high-quality finish. It's often used in the arts for drawing, pastels, and fine crafts. It's both acid-free and archival quality, meaning it won't degrade over time. However, it's also more expensive than other types of paper, making it a premium choice for special projects.

- Thickness:
Typically, Fabriano Ingres paper ranges from 90-160 gsm, offering a good balance between flexibility and sturdiness.
- Size:
Available in various sizes, including standard A4 and larger sheets, providing versatility for different project requirements.
- Applications:
Ideal for artistic projects requiring a touch of elegance, such as detailed decorative items, art pieces, or high-end cards.
Printer Paper
Printer paper is widely available, cost-effective, and compatible with most home printers, including A4 thermal printers. One of the key benefits is that you can easily download and print any design template, allowing for endless customization. If you are a crafting enthusiast or have kids at home, using A4 thermal paper to repeatedly print templates and then adding your coloring designs can make the whole creative process a lot more fun. It's especially great for enhancing children's hands-on skills and creativity.
- Thickness:
Standard printer paper typically has a thickness of around 50-120 gsm, making it flexible yet sturdy enough for various projects.
- Size:
The most common size is A4, but thermal printers can handle various dimensions, offering broader possibilities for your designs.
- Applications:
Perfect for beginners and intermediate crafters, printer paper can be used for a wide array of projects, from simple origami to more complex 3D models. With an A4 thermal printer, you can practice repeatedly, customize your designs, and even add colors post-printing.
Factors to Consider When Printing Assembling Patterns
Before diving into your project, keep these considerations in mind:
Paper Type
Choosing the right paper is key. Different papers have unique traits like thickness, texture, and how they fold. For example, Kami paper works great for delicate origami, while A4 thermal printer paper can be handy for printing various templates easily. Think about your project's needs when picking paper.
Printing Quality
Good prints are crucial for accurately following your patterns. Make sure your printer settings are top-notch. An A4 thermal printer like MUNBYN can produce sharp, clear lines that make cutting and folding easier. Poor print quality can mess up your cuts and folds, affecting your final model. Consistent, high-quality prints will make your projects look more professional and polished.
Cutting Tools
Using the right tools for cutting is also very important. Sharp scissors or a craft knife give you clean, precise cuts, which make assembly easier. Dull tools can leave ragged edges and make it hard to fit pieces together. Invest in good-quality cutting tools to improve your crafting experience. Well-maintained tools not only make cutting easier but also keep you safe while working.

Workspace
A tidy workspace greatly affects the quality of your work. Make sure your area is clean, well-lit, and free from distractions. Good lighting helps you see details clearly, while a clutter-free space lets you focus better on your project. Keeping all your materials and tools within reach makes the assembly process smoother. Having a dedicated crafting area can boost your productivity and make crafting more fun and efficient.
Can You Print Assembling Paper Patterns and How?
Yes, you can print assembling paper patterns at home! Here's how you can do it:
Step 1 Choosing the Right Paper and Printer
Start by selecting the type of paper that best suits your project. For general purposes, A4 thermal printer paper is an excellent choice due to its flexibility and ease of use. MUNBYN A4 thermal printer is ideal for this task as it provides high-quality prints and supports various paper sizes.
Step 2 Setting Up Your Printer
Ensure your A4 thermal printer is properly connected and ready to go. Adjust the settings to match the paper type and size you're using. This will help you achieve the best possible print quality.
You may also refer to the following MUNBYN official video tutorial:
Step 3 Downloading Templates
Search for assembling paper pattern templates online. Many websites offer free or paid designs that you can download and print. Once you've selected your template, download the file and open it in your printer software.
Step 4 Printing the Patterns
Load your chosen paper into the printer and hit the print button. Make sure to check that the template is correctly aligned on the paper to avoid any misprints.
Step 5 Cutting and Assembling
Once printed, carefully cut out the patterns using sharp scissors or a craft knife. Follow the instructions provided with the template to fold and assemble your design. Using a MUNBYN A4 thermal printer and thermal paper simplifies the process immensely. The prints are sharp, and the paper is easy to cut and manipulate, making your crafting experience enjoyable and hassle-free.
Conclusion
Printing and assembling paper patterns is a delightful and engaging activity that anyone can enjoy. From choosing the right type of paper to mastering the assembly process, each step is a small adventure in creativity. Whether you're using Kami for simple designs or a MUNBYN A4 thermal printer for more complex projects, the key is to have fun and let your imagination soar.


